For anyone serious about cryptocurrency, there comes a pivotal moment: the move from holding assets on an exchange like Binance to taking full control with self-custody. It's the digital equivalent of moving your savings from a bank to your own, ultra-secure, personal safe.
This guide will walk you through the process safely and clearly.
Why Make the Move?
Holding crypto on an exchange is convenient for trading, but it means you don't hold your private keys. Self-custody with a hardware wallet (like Ledger or Trezor) means you—and only you—control your assets. It’s the core principle of "Not your keys, not your crypto."
Step-by-Step: The Secure Transfer
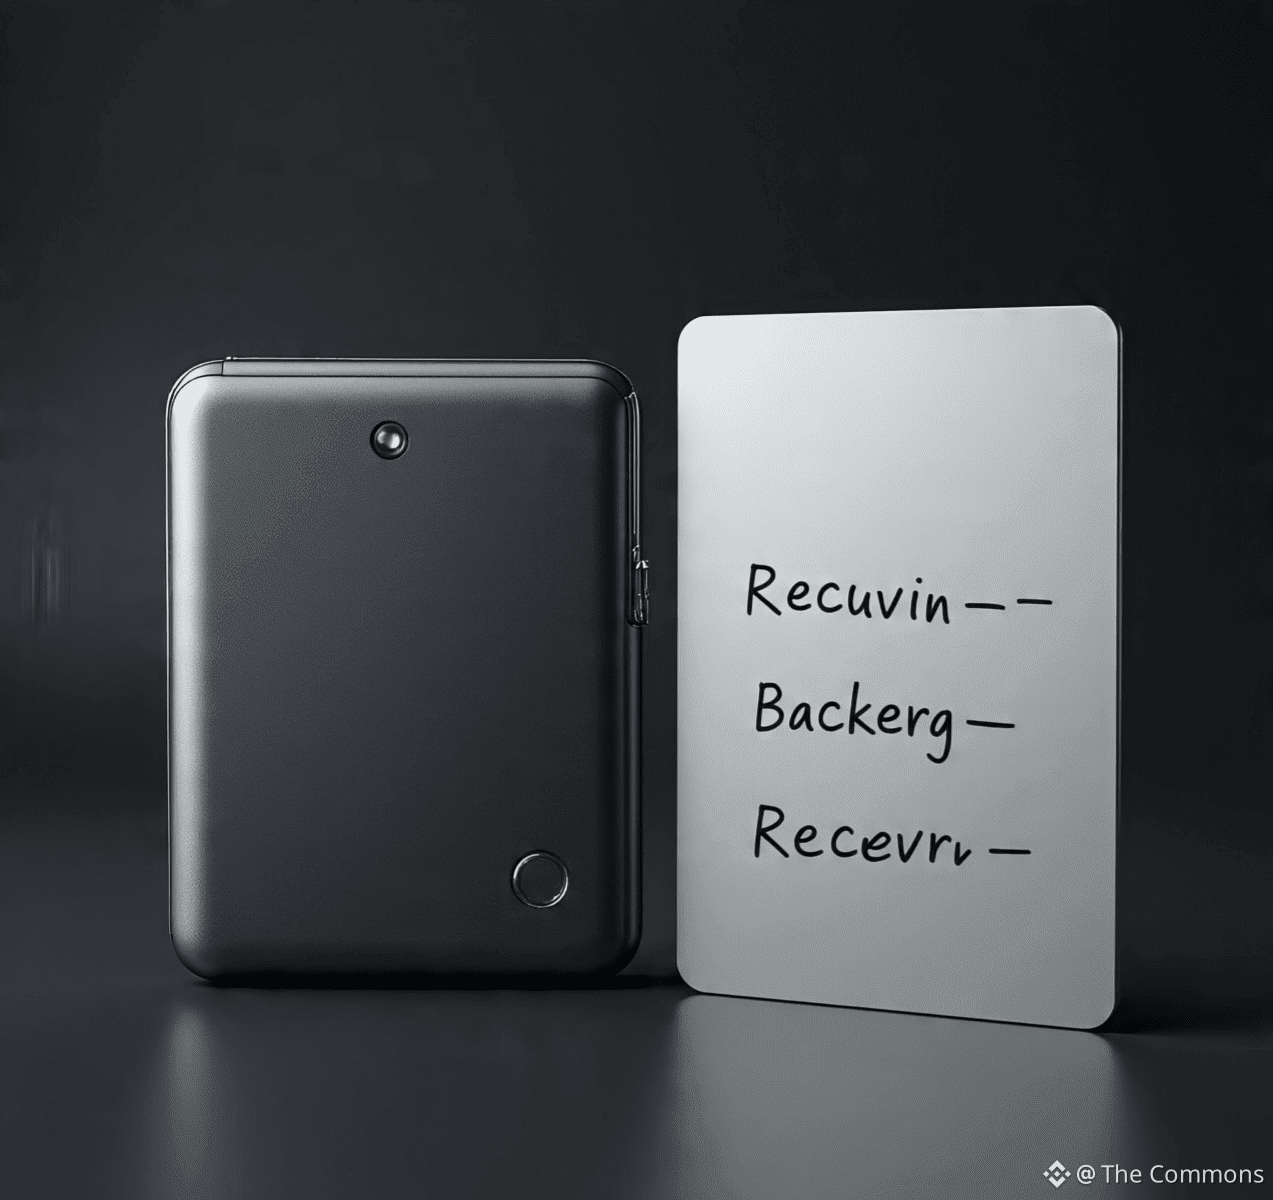
1. Prepare Your Hard Wallet
· Unbox & Setup: Get your hardware wallet from the official manufacturer. Never buy a used device.
· Generate Your Seed Phrase: During setup, your device will generate a 24-word recovery phrase.
· CRITICAL: Write this down on the provided card. Never digitize it—no photos, no cloud storage.
· Store it somewhere safe and offline. This phrase IS your crypto; anyone with it can steal your funds.
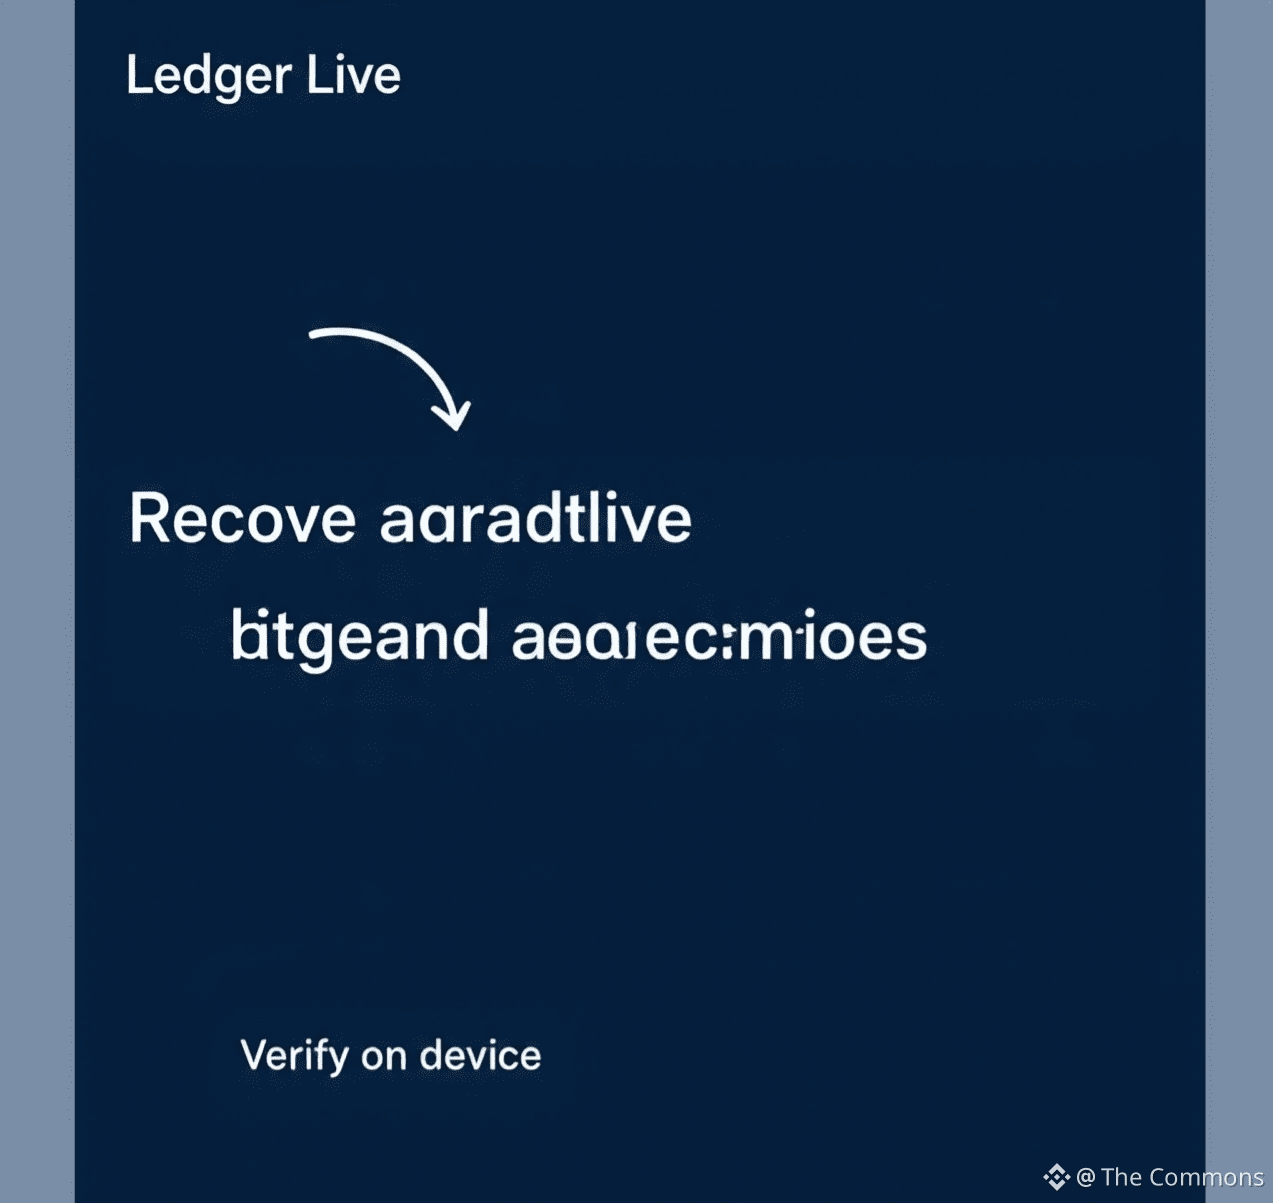
2. Install Wallet Software & Verify Receive Address
· Connect your hardware wallet to the official companion app (e.g., Ledger Live, Trezor Suite).
· Navigate to the crypto asset you want to receive (e.g., Bitcoin, Ethereum).
· Click "Receive." Your device will display a public receiving address on its screen.
· VERIFY THIS ADDRESS BOTH on your device's screen and in the software app. They must match exactly.
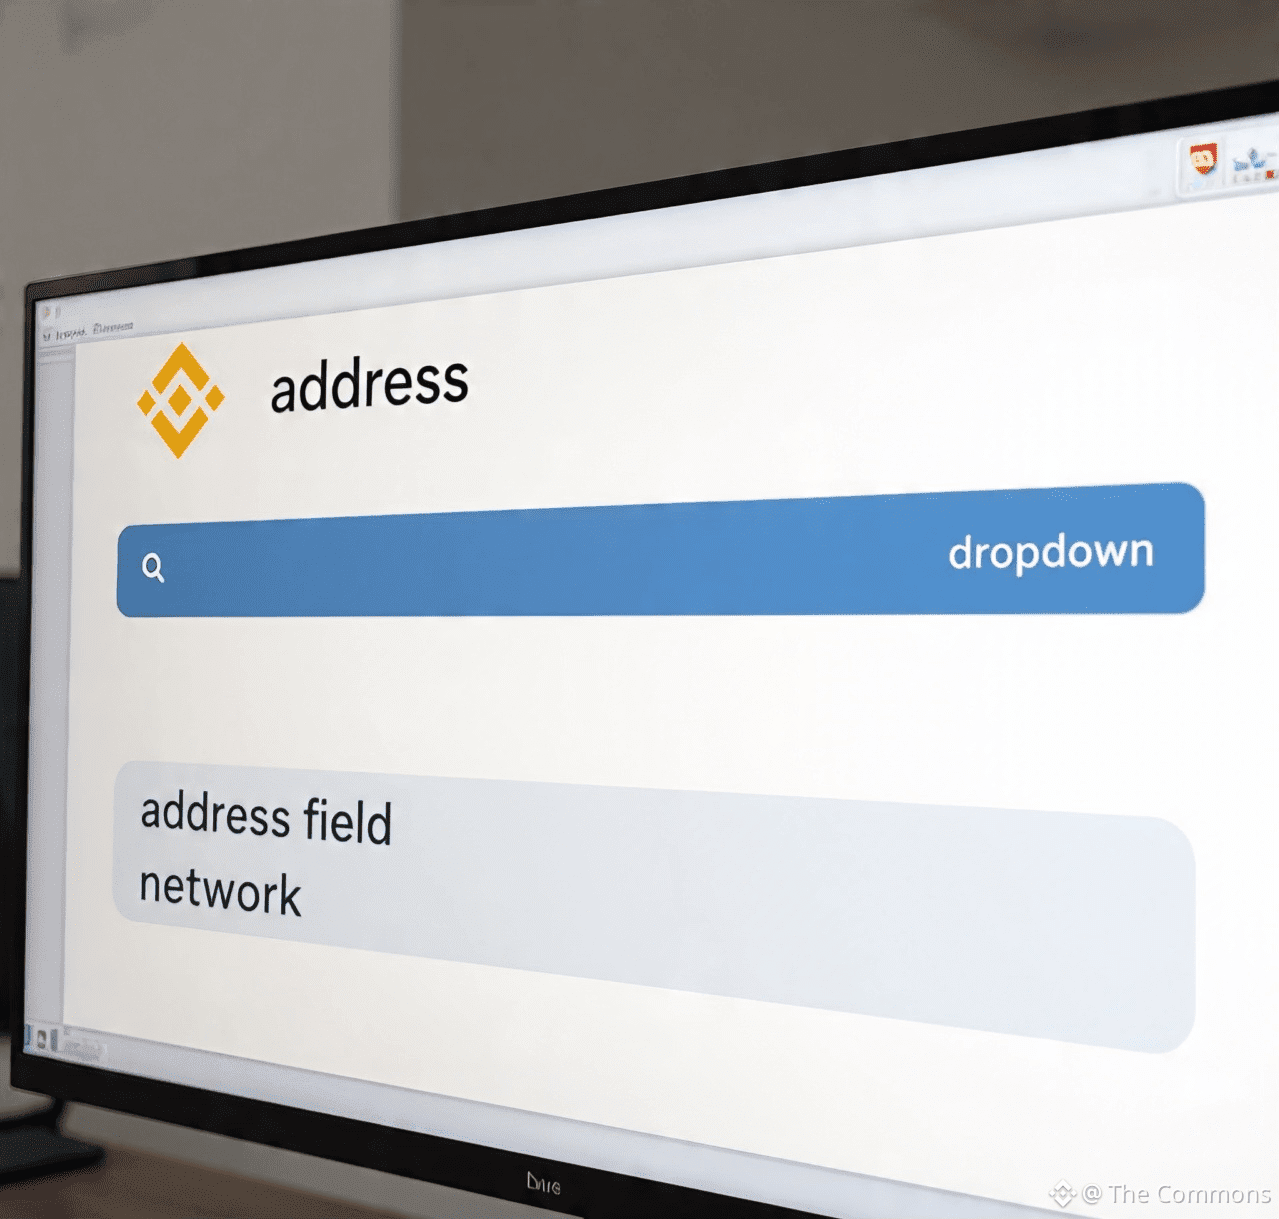
3. Withdraw from Binance
· Log into your Binance account. Go to Wallet > Overview > Withdraw.
· Select the cryptocurrency (e.g., BTC).
· Paste the receiving address from your hardware wallet. Double-check every character. Use a QR code scan if possible for accuracy.
· Select the correct network. This is VITAL. Sending Bitcoin on the BEP20 network to a Bitcoin address will result in lost funds. When in doubt, use the native network (e.g., BTC for Bitcoin, ETH for Ethereum).
· Start with a small test transaction. Send a minimal amount first to confirm everything works.
4. Confirm & Celebrate Your Sovereignty
· Confirm the transaction with Binance's security steps (2FA, email confirmation).
· Wait for the blockchain confirmations. Your hardware wallet app will show the balance once processed.
· Once the test is successful, you can send the remainder.
Safety Checklist & Best Practices
✅ Triple-Check Addresses: One typo means lost funds.
✅ Never Share Seed Phrase: Legitimate entities will never ask for it.
✅ Mind the Network: Mismatched networks are a top cause of loss.
✅ Keep Firmware Updated: Ensure your hardware wallet has the latest security updates.
✅ Test First: Always do a small test send.
Summary Table: Exchange vs. Self-Custody
Feature Binance (Custodial) Hardware Wallet (Self-Custody)
Control Binance holds keys You hold keys
Security High (but a hacking target) Maximum (offline)
Responsibility Low ("forgot password" recovery) Absolute (you secure the seed)
Best For Active trading, beginners Long-term holding, security
Moving to self-custody is your rite of passage in the crypto world. It empowers you with true ownership and unparalleled security. Take it slow, follow these steps, and enjoy the peace of mind that comes with being your own bank.
Your keys, your crypto. Your freedom.
Disclaimer: This is educational content. Always ensure you understand each step and the risks involved. Transaction fees apply.


