📊 Trading confirmations – don't just jump into any demand zone!
A lot of folks lose not because the zone is wrong...
but because they entered without confirmation.
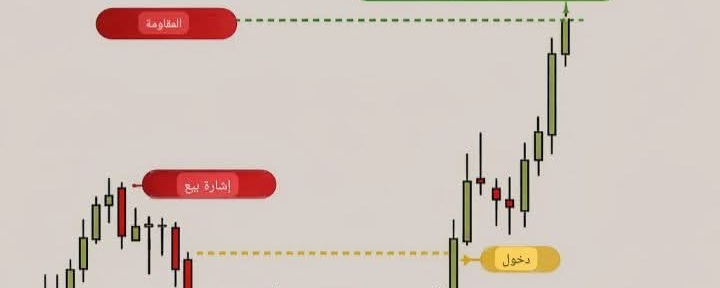
The chart in front of you explains a very important concept:
A strong demand zone requires multiple confirmations before a pump, and the more confirmations there are, the stronger the trade.
Let's break it down.
First confirmation:
price reaches the demand zone and shows strong rejection (candlesticks with wicks)
and that's the first sign that buyers have entered.
second confirmation:
price breaks the downtrend
this means the downtrend has ended and a reversal has started.
third confirmation:
price is retesting the area or breaking structure
and here remains the best entry point.
best entry is not from the first touch...
Best entry after confirmation + retest.
━━━━━━━━━━━━━━━
best settings:
use Supply & Demand zones
with EMA 50
and EMA 200
and Stochastic (14,3,3)
best timeframes:
15 minutes
30 minutes
1 hour
(great for Nasdaq and gold)
━━━━━━━━━━━━━━━
important rule: Zone + Trend + Break + Retest = strong trade
━━━━━━━━━━━━━━━
#trading #forex #Supply_Demand #ICT #Smart_Money #Nasdaq #Gold #XAUUSD #NASDAQ #electronic_trading #strategy #technical_analysis $XRP
